
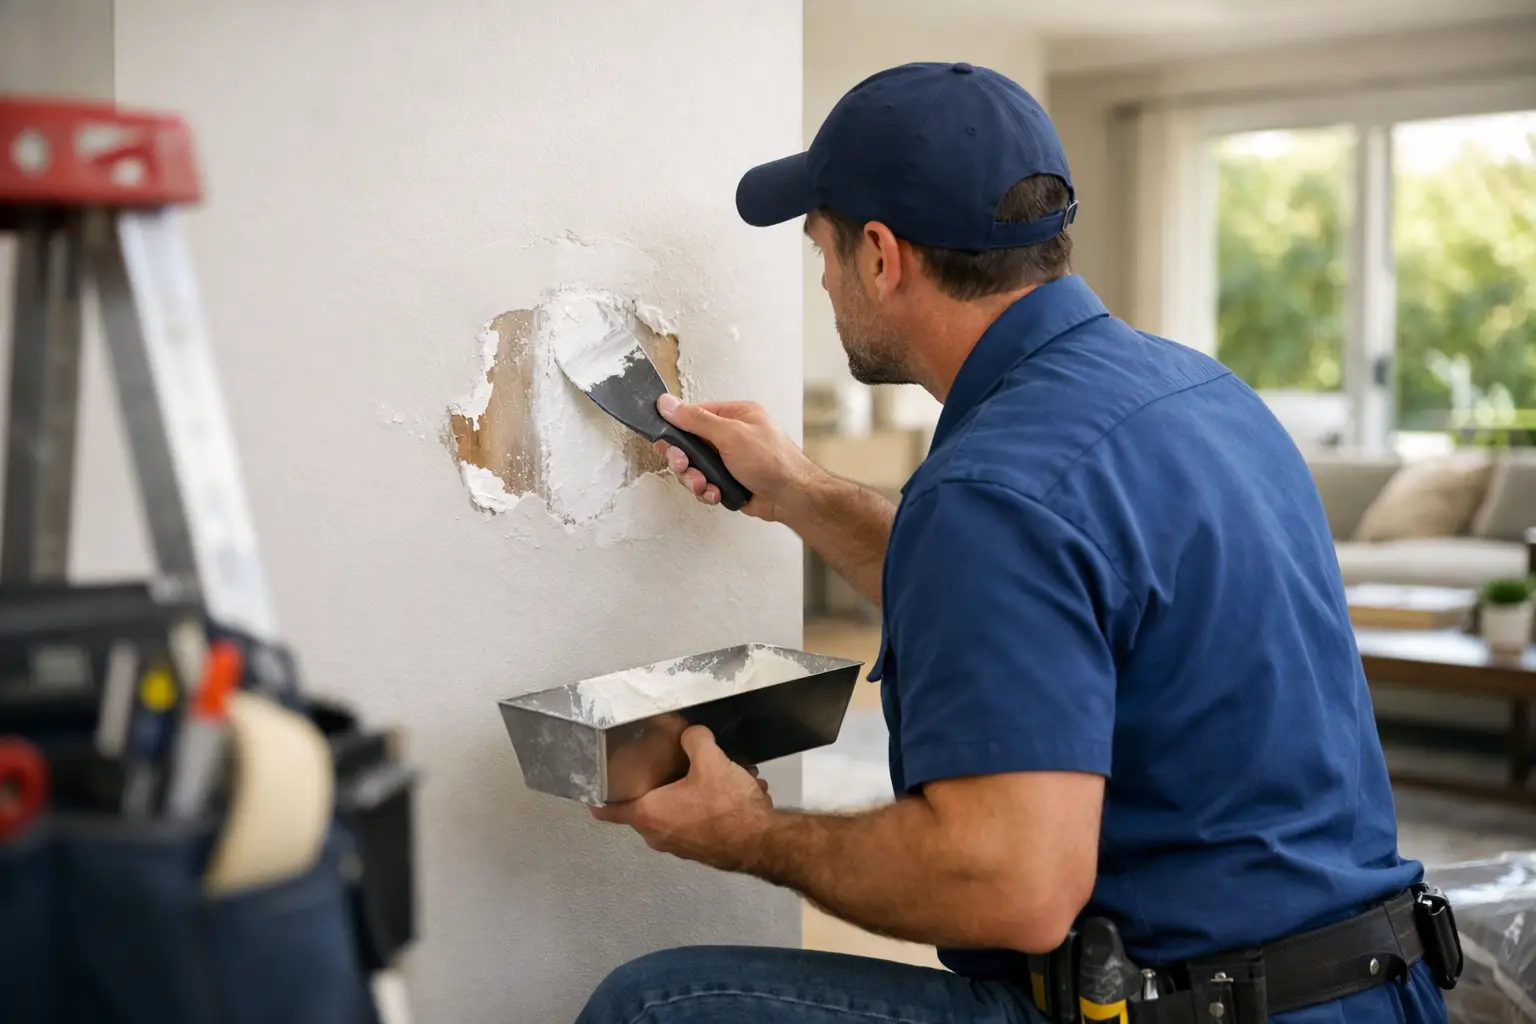


A dent behind the door. A crack above the hallway opening. A wall anchor that came out and left a crater bigger than expected. That is usually when people start looking for a drywall repair guide for homeowners – not because they want to become drywall experts, but because they want the wall to look normal again without making the damage worse.
Drywall repair is one of those jobs that seems simple until you are standing in front of a patch that flashes through paint or a crack that comes back two weeks later. The good news is that many common wall problems are very fixable. The part that matters is matching the repair method to the damage instead of using the same approach for every hole and crack.
A practical drywall repair guide for homeowners
Most drywall damage falls into a few categories. You will usually be dealing with nail pops, hairline cracks, small holes from anchors or doorknobs, medium holes that need support, or water-damaged sections that should be cut out and replaced. The repair itself is not just about filling the opening. It is about creating a stable surface, blending the patch into the surrounding wall, and making sure the finish holds up after painting.
If you rush the prep, use too much compound, or skip sanding between coats, the wall may look repaired from across the room but still show every step in normal light. That is why drywall work often feels easy at first and frustrating at the end.
The basic tools that make a difference
You do not need a truck full of equipment, but a few right tools help a lot. A putty knife, taping knife, utility knife, sanding sponge, drywall compound, mesh or paper tape, primer, and matching paint cover most small repairs. For larger holes, you may also need a drywall saw, a patch piece, backing support, and screws.
One trade-off to keep in mind is compound type. Lightweight spackle is convenient for tiny dents and nail holes, but it is not always the best choice for deeper repairs. Joint compound takes longer to dry but usually feathers out better over wider areas. Setting-type compound dries harder and faster, but it leaves less room for mistakes if you are new to patching.
How to handle the most common drywall problems
Small nail holes and picture hanger marks are the easiest repairs. Clean off any loose paint, press in a small amount of spackle with a putty knife, and scrape it nearly flush. Once dry, sand lightly, prime if needed, and touch up the paint. The biggest mistake here is overfilling. A small hole does not need a mound of filler.
Hairline cracks need a little more care. If you just smear compound over the crack, it often reappears. It helps to open the crack slightly with a utility knife so the compound can bond, then apply tape and a thin coat of mud over it. This is especially useful around seams and corners where movement caused the crack in the first place.
Nail pops are common in older homes and in areas with slight framing movement. If the drywall screw or nail has pushed outward, press the surface gently to check for movement. In many cases, the best repair is to drive a new drywall screw into the stud nearby, remove or set the popped fastener, then cover the area with compound. If you only patch the bump, it may return.
For small holes up to about two inches, a patch compound or mesh patch can work well. Clean the edges first. If the drywall around the hole is broken and crumbly, trim it back to a cleaner shape before patching. A firm edge gives you a better result than trying to fill torn paper and loose gypsum.
Medium holes are where many DIY jobs start to look rough. A self-adhesive mesh patch may work for some openings, but if the hole is larger or in a visible area, cutting in a proper patch is usually the cleaner solution. That means squaring the damaged area, adding backing support behind the wall, fastening a new drywall piece, taping the seams, and building up thin coats of compound. It takes more time, but the finished wall is flatter and stronger.
Water damage changes the job
If drywall has been wet from a leak, a roof issue, or plumbing trouble, patching the stain is not enough. The source of moisture has to be fixed first. Then you need to check whether the drywall is still solid. Soft, swollen, sagging, or moldy sections should be removed and replaced.
This is one of those moments where homeowners save time by being honest about the cause. If the leak is active or recent, repair work should wait until the area is dry and stable. Otherwise, you are covering up a problem that is still developing behind the wall.
Why some drywall repairs fail
Most bad drywall repairs come down to three things: poor surface prep, too much compound, or not enough drying time. Drywall finishing is less about force and more about restraint. Thin coats are easier to sand, easier to feather, and much less likely to leave a visible hump.
Lighting matters too. A patch that looks fine under overhead lights can stand out sharply when daylight hits the wall from the side. Hallways, living rooms with large windows, and smooth walls with flat paint tend to reveal every imperfection. In those spaces, the standard for a good repair is higher.
Texture is another sticking point. If your wall has orange peel, knockdown, or a hand-applied finish, the patch is only half the job. Matching texture takes practice, and a smooth patch in the middle of a textured wall draws attention fast. This is one reason homeowners often handle the hole itself but call for help on the finishing.
Drywall repair guide for homeowners: DIY or call a pro?
DIY makes sense when the damage is small, the area is not highly visible, and you have time to let each coat dry properly. A few anchor holes, minor dents, and basic nail pops are reasonable weekend jobs. If the repair goes slightly imperfect, it is usually manageable.
Calling a pro makes more sense when the hole is larger, the wall has texture, the damage involves water, or the repair sits in a spot you see every day. Entry walls, living room focal points, and ceilings leave little room for a patch that looks patched. The same goes for homes being prepared for listing or rental turnover, where a clean finish matters.
There is also the time factor. Homeowners in busy areas like Los Angeles often do not mind a repair project in theory. What they actually do not have is three rounds of drying, sanding dust, paint matching, and a trip back to the store because the first patch material was wrong. That is where fast, dependable service becomes more practical than stretching a two-hour idea into a full weekend.
A few expectations that help
Even a good drywall repair may require painting the full wall for the most uniform result. Spot-painting can work in some cases, but sheen differences and older paint fade often make touch-ups visible. If the wall color has aged or the paint was custom mixed years ago, a perfect blend is harder than the patch itself.
It also helps to know that dust control takes planning. Sanding compound creates fine dust that travels farther than most people expect. Plastic protection, floor covering, and a careful cleanup matter, especially in occupied homes.
What a clean repair should look like
A proper drywall repair should feel flat to the touch, blend into the surrounding surface, and disappear under normal room lighting. You should not see a ridge around the patch, bubbling tape, exposed mesh, or a dull flashing spot where primer was skipped. If texture is present, it should look intentional rather than obviously repaired.
That standard is what separates a quick cover-up from a repair that holds up. Good drywall work is quiet. It does not call attention to itself.
For homeowners, the real goal is not learning every drywall technique. It is knowing when a simple fix is enough and when the wall needs a more careful repair. If you approach it that way, you avoid the most common mistakes and get back to a wall that looks the way it should – clean, solid, and forgettable.